How to Free Up Space on Drive C: Simple Methods

How to Free Up Space on Drive C: Simple Methods
If Drive C is almost full, do not start by deleting folders from Windows. First find out what is using the storage, then remove only the data you no longer need.
Windows already includes tools for this. In many cases, a few simple checks are enough to recover storage space and avoid problems caused by a nearly full system drive.
1. Check How Much Free Space Is Left
Open File Explorer → This PC and check Drive C.
If there is very little free space, do not start deleting files randomly. First identify which category is taking up the most storage.
In Windows 11, open Settings → System → Storage. Windows will show how storage is distributed between different categories.
2. Clean Up Temporary Files
Open Settings → System → Storage → Temporary files.
Windows will show categories of files that can be removed. Review the list before confirming the cleanup.
You do not have to select everything. If you do not understand a category, check what it contains before removing it.
Windows also provides Cleanup recommendations, which can suggest temporary files, large files, and unused applications for removal.
3. Empty the Recycle Bin
When you delete a file, it may first be moved to the Recycle Bin. Until the bin is emptied, those files continue to use storage space.
Before emptying it, make sure there are no files you may want to restore.
4. Check the Downloads Folder
The Downloads folder is one of the first places worth checking.
It may contain:
- application installers;
- ZIP archives;
- old documents;
- photos;
- videos;
- files downloaded temporarily.
Sort the contents by size and check the largest files first.
If a file is important, do not delete it simply because it is large. Move it to another drive or external storage instead.
5. Find the Largest Files
Large personal files are often responsible for a significant amount of used storage.
Check folders such as Downloads, Videos, Pictures, and Documents.
In File Explorer, switch to Details view and sort the files by size. This makes it easier to identify the largest files quickly.
Then decide whether each large file should be kept, moved, or deleted.
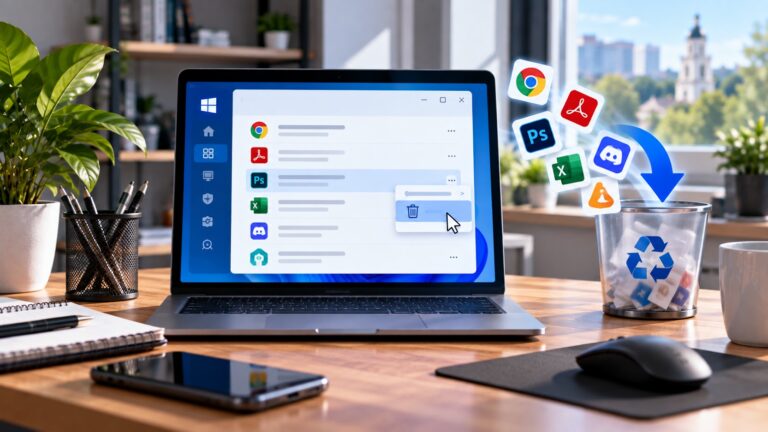
6. Uninstall Apps You No Longer Use
Games and large applications can consume tens or even hundreds of gigabytes.
You can review installed applications under Settings → Apps → Installed apps.
Remove applications only when you know what they are and are certain that you no longer need them.
7. Turn On Storage Sense
Storage Sense is a built-in Windows feature that can automatically remove certain unnecessary files, including temporary files and Recycle Bin contents, according to your settings.
You can find it under Settings → System → Storage → Storage Sense.
Pay attention to the Downloads settings. By default, Storage Sense does not automatically delete files from Downloads simply because the feature is enabled. That behavior can be configured separately.
8. Use Cleanup Recommendations
If you do not want to inspect every folder manually, Windows can provide cleanup suggestions.
Open Settings → System → Storage → Cleanup recommendations.
You may see temporary files, large or unused files, cloud-synced content, and unused apps. You decide which items should actually be removed.
9. If You Use Windows 10
Windows 10 also includes the classic Disk Cleanup tool.
Search for Disk Cleanup in Windows, select Drive C, and review the available categories.
Be careful when cleaning system files. For example, deleting a previous Windows installation can free storage but also remove the ability to return to the previous version of Windows.
What You Should Not Do
Do not manually delete folders such as Windows or Program Files simply because they are large.
Do not rely on questionable cleanup applications that promise to remove huge amounts of data automatically without explaining exactly what they change.
Do not delete important documents, photos, or work files just to gain a few extra gigabytes. Move files you want to keep to another drive or external storage instead.
What If Drive C Fills Up Again?
If free space disappears quickly after cleaning, do not simply repeat the same cleanup process.
Open Settings → System → Storage and check which category continues to grow.
The cause could be an application, temporary data, large personal files, or another type of information that is continuously being stored.
If the drive is permanently close to full, the problem may simply be that the storage capacity is too small for the amount of data you need to keep.
The Correct Order for Cleaning Drive C
- Check the available free space.
- Open Storage and identify the main category.
- Clean temporary files.
- Check the Recycle Bin.
- Review the Downloads folder.
- Find large personal files.
- Uninstall unused applications.
- Enable Storage Sense if automatic cleanup is useful for you.
Conclusion
Safe cleanup of Drive C starts with identifying what is using the storage rather than randomly deleting files.
Start with temporary files, the Recycle Bin, Downloads, and unused applications. Then look for large personal files and decide which ones are no longer needed.
The main rule is simple: do not manually delete system files when you do not know what they are used for.
If the free space disappears again quickly, find out what is continuously growing instead of repeatedly deleting files without identifying the cause.
Have a Project in Mind?
Tell us about your project and we will help you find the best solution.